Time Tracking and Traffic
Category: In The News, News
Did you know that the difference between a bike ride and a car ride over a 4 mile commute is 15 pounds of pollutants? That’s right, according to the League of American Bicyclists, a single person can make this kind of impact on the environment. And a realization of this
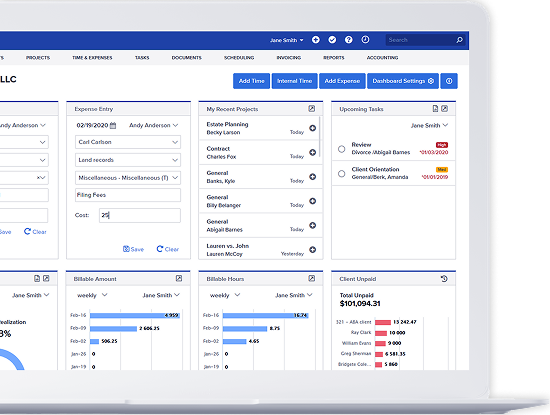
Bill4Time is pleased to announce that later this fall, we will be releasing the latest version of Bill4Time time tracking software to all users. This release focuses around an updated user interface designed to help you complete your time and billing as quickly and efficiently as possible. Upcoming Additions Universal
This video will show you how to create and prepare invoicing to your clients. [youtube]http://www.youtube.com/watch?v=zc7CMfLTJE8[/youtube] From the Dashboard, click on “Invoice Management.” Then choose “Create New Invoice.” The “New Batch Invoice” screen will display a summary of all unbilled time entries your company has on record. Put a check by
Bill4Time Founder Gives Time
Category: Blog, In The News, News
When it comes to time or money, you can always give either one for a worthy charity. Morris Tabush, co-founder of Bill4Time, is going to take a step back from the business of time and billing, and spend some of his time helping others. Morris is currently training for the
Tip of the Week: How to Enter Time
Category: Blog, What's New
There are many ways of entering time in Bill4Time. This video will guide you through a few different ways to help you enter time quickly and efficiently. [youtube]http://www.youtube.com/watch?v=dAiaxCWIqIw[/youtube] From the Dashboard: Click on the “New Time Entry” menu option on the Dashboard. Click on the blue “+” icon next to
Tip of the Week: Set User Permissions
Category: Blog, What's New
In Bill4Time, you can set what actions users can and cannot perform, as well as which clients they should have access to. This video will take you through the steps of specifying these options. [youtube]http://www.youtube.com/watch?v=D_tw6UutrcU[/youtube] From the Dashboard, click on “User Management.” Then click on the user you want to