Tip of the Week: How to Create Bill4Time Invoices
08/21/2009 By Bill4Time Staff
This video will show you how to create and prepare invoicing to your clients.
[youtube]http://www.youtube.com/watch?v=zc7CMfLTJE8[/youtube]
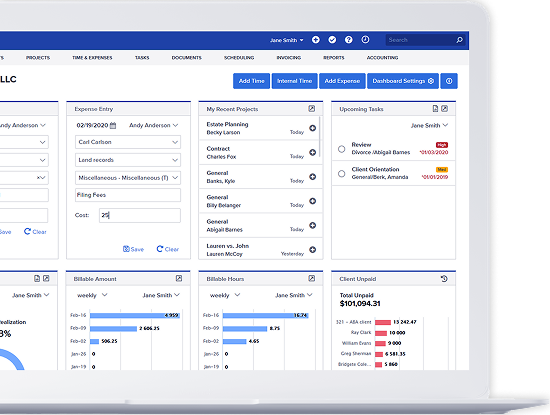
From the Dashboard, click on “Invoice Management.”
Then choose “Create New Invoice.”
The “New Batch Invoice” screen will display a summary of all unbilled time entries your company has on record. Put a check by any project you want to invoice or put a check next to the client name to invoice all time entries for that client.
A “batch description” will be filled out for you, but you can change it if you want.
Then click the “Save” button.
You will now see the invoice in its “pre-bill” state. From here, you can review the time entries, add notes, and adjust the other invoice details. Now is the time to add or remove time entries before “finalizing” the invoice.
When you are ready to finalize the invoice, click the “Finalize/Next” button.
You have now generated the final invoice and it is ready to be sent to your client. You can print the invoice by clicking on the “Print” button or create a PDF by clicking on the “Print PDF” button.
And that’s it! To learn more visit http://www.bill4time.com/training